The Timer
- Dec 8, 2022
- 3 min read
Updated: Dec 5, 2025
This post will explain how to:
1.Time as you work (recommended).
You can time on any task by clicking on a record (a row in a table) and then clicking on the timer.

The timer will turn orange and start to time. You can navigate away from this table, close the app or move over to your mobile, and the timer will continue to count.

If you hover over the timer, it will show you which client and task you are currently timing on.

Once you are done working on the task, click stop.
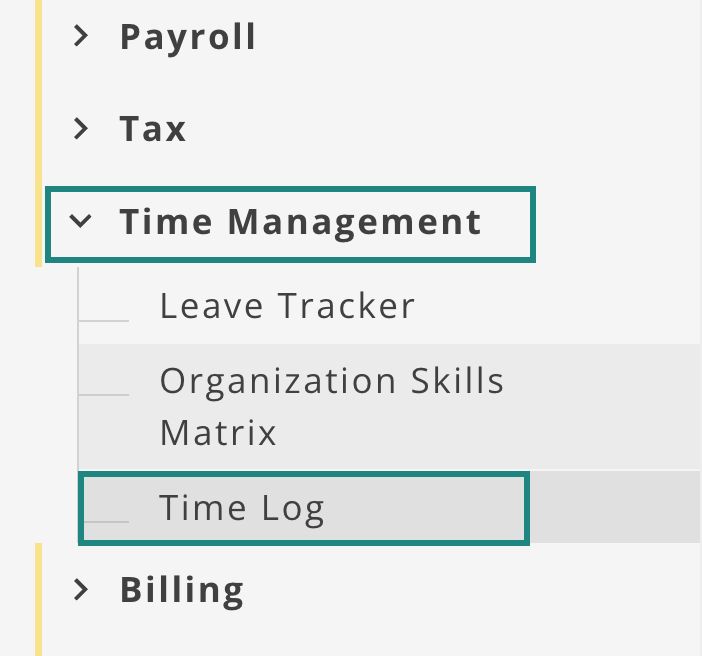
All time captured in this way will go to the time log table in the Time Management department.
You can also log time on subtasks by clicking on the play icon. This will automatically pull through the subtask to your Time log table. Any notes made on the main task and subtask will display in a neatly formatted way, so you don’t lose track.

2.Adjust time records.
You can adjust any time by:
Going to the Time Management department,
Clicking on the Time Log table and on a record.
Adjust the start or end time.
Click Save.

The time log record will, amongst other things, provide a rounded time. If your user access allows, you can adjust the time rounding in your Firm Settings table.
3.Indicating Non-Billable Time
When setting up your billing, you can indicate if a task is billable or not. This will pull through to all specified tasks timed on.
If however, you only want to indicate specific time records as non-billable:
Go to your Time Log table
Click on a record
Check the Non-Billable checkox.
Save
This is an indicator only for management to review when they authorize time. It will not influence your billing automatically.
4.Add time manually.
You can add time manually in DataGrows, however we highly recommend that your team gets into the habit of using our timer. Using the timer as you work will allow for streamlined workflows and save a lot of time by avoiding manual entry.
To add time manually:
Click on Add Record in the Time Log table
Select a client from the Client dropdown and a task from the Task dropdown.

Select Timestamp or Duration from the Method dropdown.
Timestamp will enable you to select a start and end time.
Duration will enable you to set a duration and day. DataGrows will automatically select a start and end time.
If you don’t want to record your start and end times, you can now edit the duration field.
Please select Duration instead of Timestamp in the Method field.
You can edit the date in the start field, but the start time doesn’t need to be changed. Simply type in the hours spent (hh:mm) and save. DataGrows will work out the rest! Time rounding will still apply according to your Firm Settings.
Click Save & Edit

Next, link the time log record back to the specific task by checking the checkbox below.
Click Save.

If a time log record is not linked to a specific task, it will show as "Not Linked To Task" in the Status field. If you are using our billing component, you need to link it to a task in order for the billing to reflect correctly.

If you have any questions, please send an email to support@mydatagrows.com
You can learn more about the Authorizing time here.


Comments